Olympus OM-10 User Manual: A Comprehensive Guide
This manual details the Olympus OM-10, a classic 35mm SLR film camera, offering guides, troubleshooting, repair resources, and compatibility information for Zuiko lenses.
The Olympus OM-10, released in 1979, represents a pivotal moment in 35mm SLR camera design, lauded for its compact size and innovative features. This camera, part of the celebrated OM system, brought advanced photographic capabilities to a wider audience. It’s an aperture-priority automatic exposure camera, meaning you set the aperture, and the camera selects the appropriate shutter speed.
This user manual aims to provide a comprehensive guide for both novice and experienced photographers looking to explore the capabilities of the OM-10. We’ll cover everything from loading film and understanding the camera’s controls to mastering exposure settings and utilizing Zuiko lenses. Whether you’ve recently acquired an OM-10 or are revisiting a classic, this resource will help you unlock its full potential and enjoy the rewarding experience of film photography. Access to repair manuals and online support will also be detailed.
Key Features and Specifications
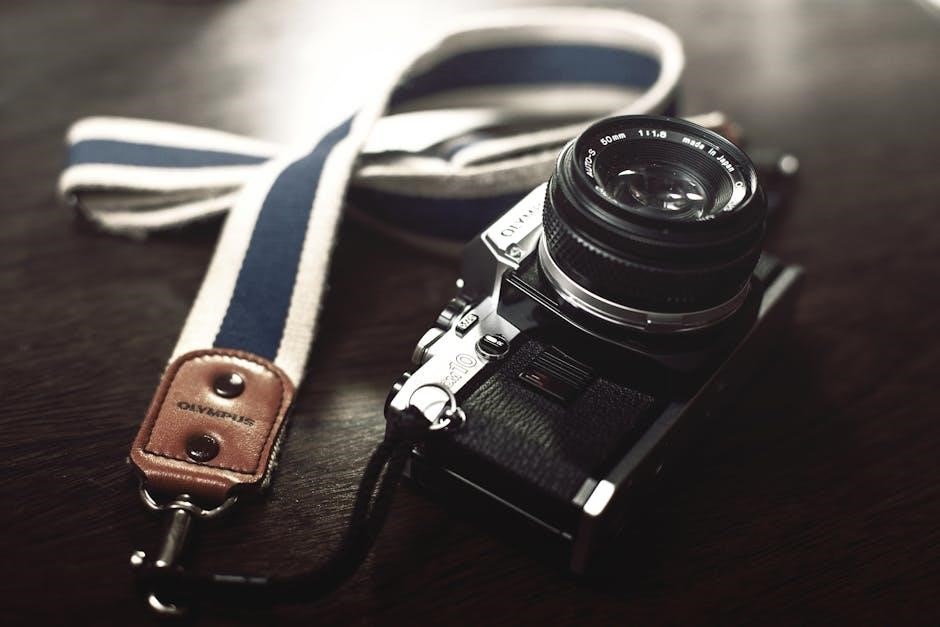
The Olympus OM-10 boasts several key features, including its electronic aperture-priority auto-exposure system, offering photographers creative control over depth of field. It features a mechanically controlled metal focal-plane shutter with speeds ranging from 2 seconds to 1/1000th of a second, plus Bulb mode. The camera accepts all Zuiko lenses, renowned for their sharpness and optical quality.
Specifications include: Film format of 35mm, effective aperture measurement range of EV3 to EV17, ISO range of 25 to 3200, and a self-timer function. The OM-10 utilizes a CdS light meter for accurate exposure readings. Its compact and lightweight body, constructed with high-quality materials, ensures durability and comfortable handling. The camera requires two SR44 batteries for operation, powering both the meter and the electronic shutter.
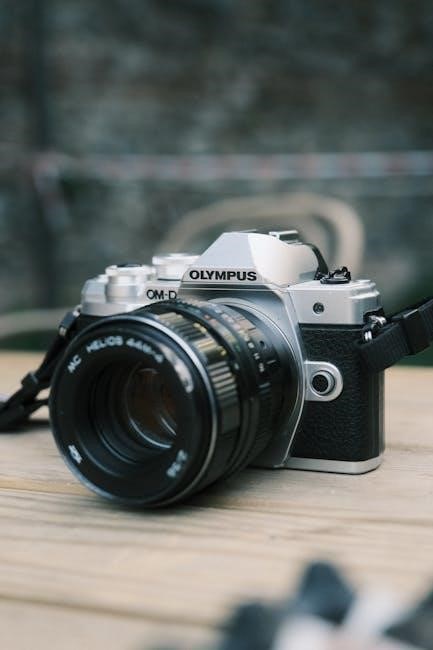
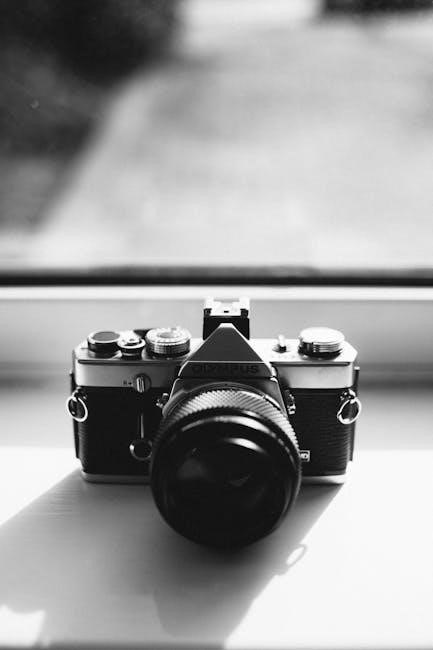
Understanding the Camera Body
The Olympus OM-10’s body is designed for ergonomic handling and intuitive operation. Its compact size belies a robust build quality, utilizing durable metal construction. The top deck houses the shutter speed dial, exposure compensation dial, and the film advance lever. The rewind crank is located on the left side, facilitating easy film rewinding.
The front of the camera features the lens mount, accepting all Zuiko lenses. The rear panel displays the viewfinder, along with controls for the film counter and battery compartment. The base of the camera includes the tripod socket and battery chamber. Familiarizing yourself with these components is crucial for efficient operation. The OM-10’s design prioritizes accessibility, making it a user-friendly camera for both beginners and experienced photographers.
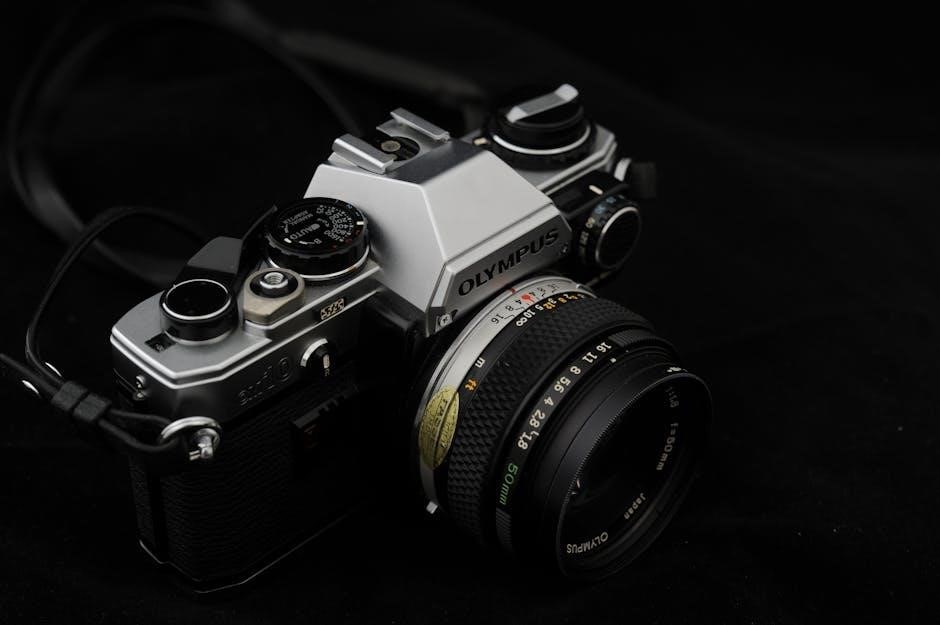
Front View: Controls and Components
The front of the Olympus OM-10 is dominated by the Zuiko lens mount, accepting a wide range of compatible lenses. Below the lens mount is the aperture control ring, directly linked to the lens itself, allowing precise control over depth of field. To the right, you’ll find the self-timer release button, initiating a 10-second delay before shutter activation.
The lens release button is positioned near the bottom of the mount, enabling quick lens changes. The front of the camera body is relatively clean, emphasizing the lens as the primary control point. Understanding the function of each component on the front view is essential for proper operation and achieving desired photographic results. Careful attention to these controls unlocks the full potential of the OM-10 system.
Rear View: Controls and Components
The rear of the Olympus OM-10 features the film rewind crank and release button, crucial for film handling. The viewfinder window provides a clear view for composing shots, displaying essential exposure information. To the right of the viewfinder is the shutter speed dial, offering a range of speeds for creative control.
Beneath the shutter speed dial resides the exposure compensation dial, allowing adjustments to the light meter’s readings. The film advance lever, used after each shot, also houses the frame counter, indicating the number of exposures taken. The battery compartment door is located on the bottom. Mastering these rear controls is vital for accurate exposure and smooth film loading/unloading, enhancing your photographic experience with the OM-10.
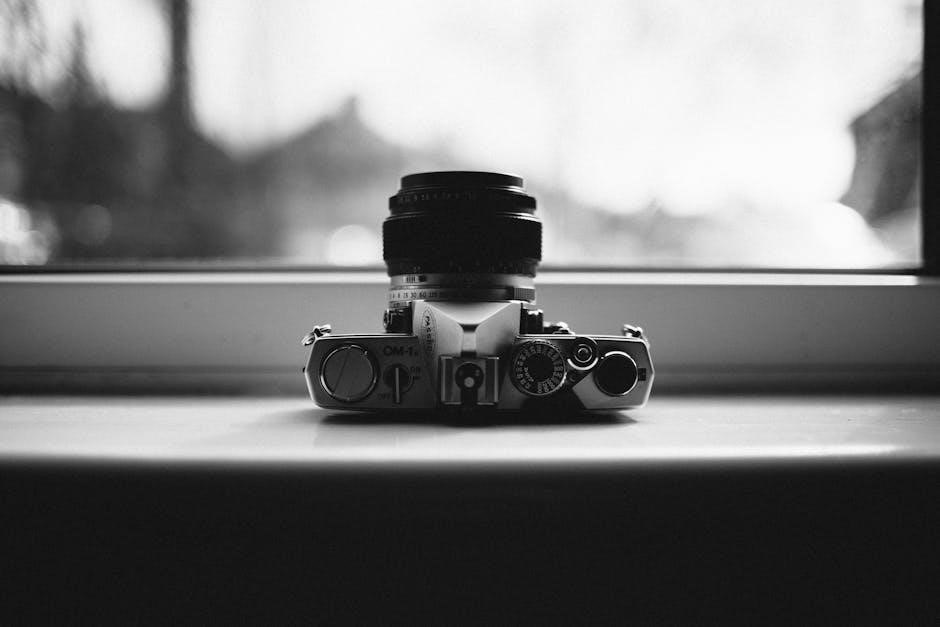
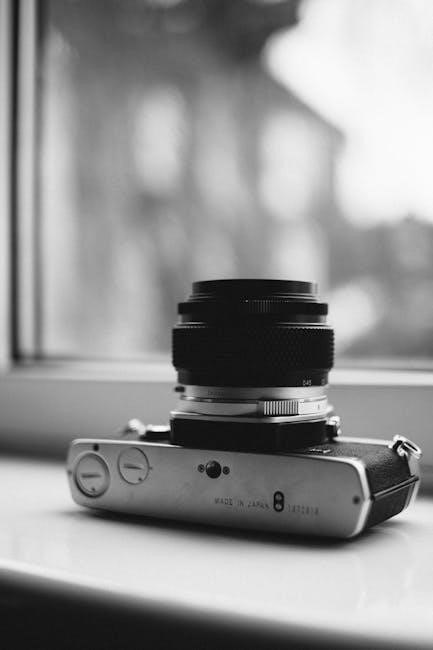
Top View: Controls and Components
The top deck of the Olympus OM-10 houses the essential controls for operation. Centrally positioned is the hot shoe, enabling attachment of an external flash unit for enhanced lighting options. Adjacent to the hot shoe is the ASA/ISO dial, used to set the film speed, ensuring accurate exposure metering. The main on/off switch, combined with the shutter lock, prevents accidental exposures.
To the right, you’ll find the shutter release button, initiating the photographic process. The film counter display clearly shows the number of frames exposed. Understanding the function of each control on the top view is fundamental to operating the OM-10 effectively, allowing for precise adjustments and creative control over your photography.
Loading Film into the OM-10

Loading film into the Olympus OM-10 is a straightforward process, crucial for successful photography. First, locate the film chamber release latch on the camera’s left side. Open the back cover and insert a 35mm film cartridge into the film chamber. Ensure the film leader extends across the camera body to the take-up spool.
Close the back cover, and the film will automatically advance slightly as you wind the film advance lever. Continue winding and pressing the film rewind release button simultaneously until the film leader is securely attached to the take-up spool. The frame counter will begin to advance with each subsequent wind, indicating the number of exposures taken. Proper film loading ensures smooth operation and prevents wasted frames.
Setting Exposure: Aperture and Shutter Speed
The Olympus OM-10 offers both Aperture Priority and Shutter Priority modes, providing flexible exposure control. In Aperture Priority, you select the desired aperture (f-stop) for depth of field, and the camera automatically sets the appropriate shutter speed. Conversely, in Shutter Priority, you choose the shutter speed to freeze or blur motion, while the camera adjusts the aperture accordingly.
Understanding the interplay between aperture and shutter speed is key. A wider aperture (lower f-number) lets in more light but creates a shallow depth of field. A faster shutter speed freezes motion but requires more light. The OM-10’s light meter assists in achieving correct exposure in both modes, ensuring well-exposed photographs.
Aperture Priority Mode Explained
In Aperture Priority mode on the OM-10, you, the photographer, directly control the lens aperture, influencing both the image’s brightness and depth of field. Selecting a larger aperture (smaller f-number like f/2.8) creates a shallow depth of field, ideal for isolating subjects with a blurred background – perfect for portraits. Conversely, a smaller aperture (larger f-number like f/16) yields a greater depth of field, keeping more of the scene in focus, suitable for landscapes.
The camera then automatically calculates and sets the appropriate shutter speed to achieve correct exposure based on the light meter reading. The OM-10 displays this selected shutter speed in the viewfinder, allowing you to verify if it’s within a usable range. This mode prioritizes creative control over depth of field while simplifying exposure determination.
Shutter Priority Mode Explained
Shutter Priority mode on the Olympus OM-10 empowers you to dictate the shutter speed, controlling motion blur and freezing action. A fast shutter speed (e.g., 1/500s) effectively freezes fast-moving subjects, preventing blur – excellent for sports photography. Conversely, a slower shutter speed (e.g., 1/30s) introduces motion blur, conveying a sense of movement or creating artistic effects like light trails.
The camera automatically adjusts the aperture to achieve proper exposure, based on the light meter reading. The selected aperture is displayed in the viewfinder for your review. This mode is particularly useful when you need to precisely control how motion is rendered in your images, while the camera handles the aperture setting for correct brightness.
Focusing Techniques with the OM-10
Achieving sharp focus with the Olympus OM-10 relies on mastering its manual focusing system; The split-image rangefinder in the viewfinder is your primary tool. Rotate the focusing ring on the lens until the image in the split-image circle appears as a single, unified image. This indicates precise focus on your chosen subject.
For static subjects, take your time and carefully observe the split-image. When focusing on moving subjects, pre-focus on a point where you anticipate the subject will be, then track its movement while slightly adjusting the focus ring. Depth of field preview (using the corresponding lever) helps visualize the area in acceptable focus at a given aperture. Practice is key to developing a feel for accurate focusing with this classic camera.
Using the Light Meter
The Olympus OM-10 features a center-weighted light metering system, crucial for achieving properly exposed photographs. The meter operates in both Aperture Priority and Shutter Priority modes. When activated, LEDs in the viewfinder indicate exposure levels: “+” for overexposure, “-” for underexposure, and “0” for correct exposure.
To use the meter, set the camera to either Aperture Priority or Shutter Priority. The OM-10 will then suggest a corresponding shutter speed or aperture for correct exposure. Adjust settings until the “0” LED illuminates. Remember the meter reads light reflected from the scene, so consider subjects’ reflectivity. Battery health significantly impacts meter accuracy; ensure a fresh battery for reliable readings.
Self-Timer and Depth of Field Preview
The Olympus OM-10 offers both a self-timer and a depth of field preview lever, enhancing photographic control. The self-timer, activated by a lever on the front of the camera, provides a roughly 10-second delay, ideal for self-portraits or group shots. After activation, the shutter releases automatically.
The depth of field preview, located near the lens mount, allows you to visualize the area in focus at your chosen aperture. Pressing this lever stops down the lens to the selected f-stop, showing you the depth of field. Note that the viewfinder will darken when previewing. These features, while simple, significantly expand creative possibilities with the OM-10.
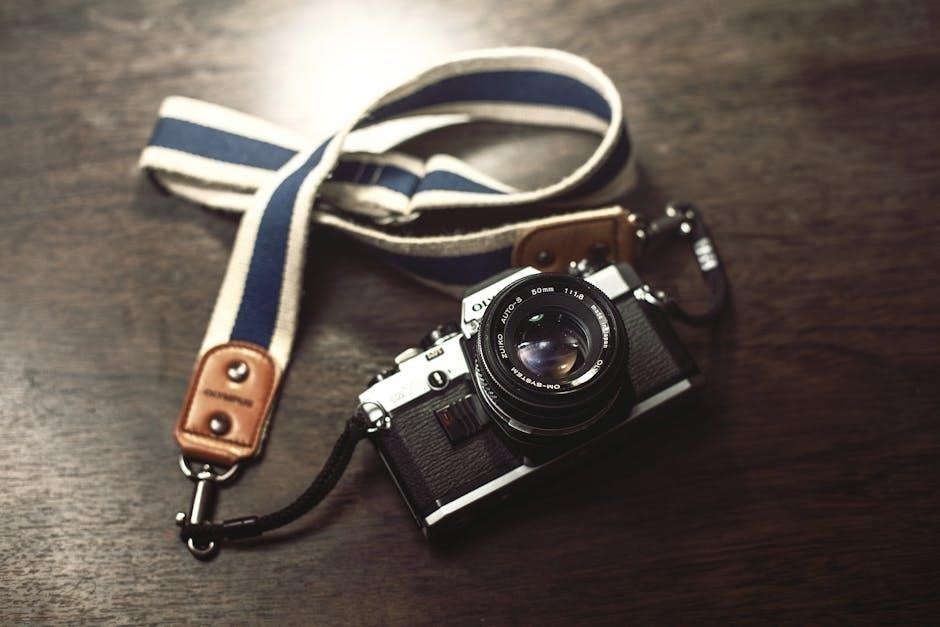
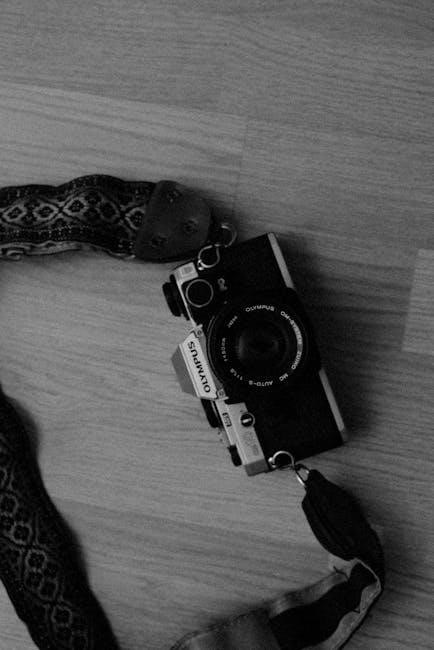
OM-10 and Zuiko Lenses: Compatibility
The Olympus OM-10 is renowned for its compatibility with the extensive Zuiko lens system, a hallmark of the Olympus OM series. These lenses, known for their sharpness and optical quality, mount seamlessly via the OM bayonet mount. A detailed PDF table showcasing Zuiko lens specifications is readily available online, providing technical data for informed choices.
Virtually all Zuiko lenses are compatible, including standard, wide-angle, telephoto, and macro options. The OM-10’s full-aperture metering system works effectively with these lenses. When exploring the used market, ensure the lens mount is undamaged for a secure connection. The Zuiko lenses truly elevate the OM-10’s photographic potential.
Troubleshooting Common Issues
Several common issues can arise with the Olympus OM-10, but many are easily resolved. If the shutter doesn’t fire, check the battery and ensure the film is loaded correctly. A dim viewfinder might indicate a low battery or an exposure compensation setting issue. Light leaks often stem from a faulty door seal or worn light seals, requiring replacement.
Metering inaccuracies can occur; verify the light meter is functioning and the ISO setting is correct. If the camera jams, avoid forcing anything and consult a repair manual. Online resources and dedicated forums offer solutions to frequently encountered problems. A comprehensive repair and service manual (available in PDF format) provides detailed guidance for more complex fixes.
Basic Maintenance and Care
Regular maintenance ensures the longevity of your Olympus OM-10. After each use, gently wipe the camera body with a soft, dry cloth to remove dust and fingerprints. Avoid using harsh chemicals or solvents. Periodically check the battery compartment for corrosion and clean if necessary. Store the camera in a cool, dry place, away from direct sunlight and extreme temperatures.
Protect the lens from scratches and dust using a lens cap when not in use. Inspect the light seals around the film door regularly; deteriorating seals can cause light leaks. Avoid self-repair if you’re uncomfortable; professional servicing is recommended for complex issues. Proper care will keep your OM-10 functioning optimally for years to come.
Repair Resources and Manuals
Finding resources for OM-10 repair is crucial for maintaining its functionality. Several online archives host the Olympus OM-10 repair and service manual in PDF format, offering detailed schematics and troubleshooting guides. Websites like Dementix.org provide downloadable manuals, often split into multiple parts. Additionally, resources like Archive.org offer user manuals and related documentation.
For more complex repairs, consider professional camera servicing. Online forums and communities dedicated to film photography can offer valuable advice and connect you with experienced technicians. Remember to always prioritize safety and avoid attempting repairs beyond your skill level. Accessing these manuals and resources will empower you to address common issues and preserve your OM-10.
Finding the Olympus OM-10 Repair Manual
Locating the official Olympus OM-10 repair manual is a key step in addressing any technical issues. Several online platforms archive these valuable resources in PDF format. Dementix.org is a prominent source, offering the manual in multiple parts (OM-10_1of3.pdf, OM-10_2of3.pdf) for convenient downloading. Archive.org also hosts versions of the manual, providing access to historical documentation.
These manuals typically contain detailed schematics, parts lists, and step-by-step instructions for disassembly, repair, and maintenance. When searching, use specific keywords like “Olympus OM-10 service manual” or “repair manual PDF” to refine your results. Ensure the downloaded file is complete and legible for effective troubleshooting and restoration of your classic camera.
Online Resources for OM-10 Support
Beyond repair manuals, a wealth of online resources supports Olympus OM-10 users. Numerous photography forums and communities dedicated to film cameras offer troubleshooting advice, user experiences, and repair tips. Websites like Olympus Dementix provide hardware PDFs and a platform for discussion. Archive.org hosts the Olympus OM-10 Film Camera User Manual, offering 51 pages of detailed guidance with a 300 DPI resolution.
Furthermore, comprehensive how-to guides are available, covering everything from basic operation to advanced techniques. These guides often include detailed explanations of aperture priority and shutter priority modes, focusing methods, and light meter usage. Exploring these resources can significantly enhance your understanding and enjoyment of this classic SLR, ensuring years of photographic satisfaction.